How to Cleanly Cable Manage a Dual-Monitor Standing Desk (Without Drilling)

"Yes, I know... this title sounds so specific that it feels like it was written for exactly seven people on Earth. But oddly enough, after answering this exact question in my DMs for the fifth time this month, I realized a lot of you are sitting at a dual-monitor standing desk, staring at a chaotic jungle of dangling wires, and terrified of putting a drill hole into your brand-new $500 tabletop!"
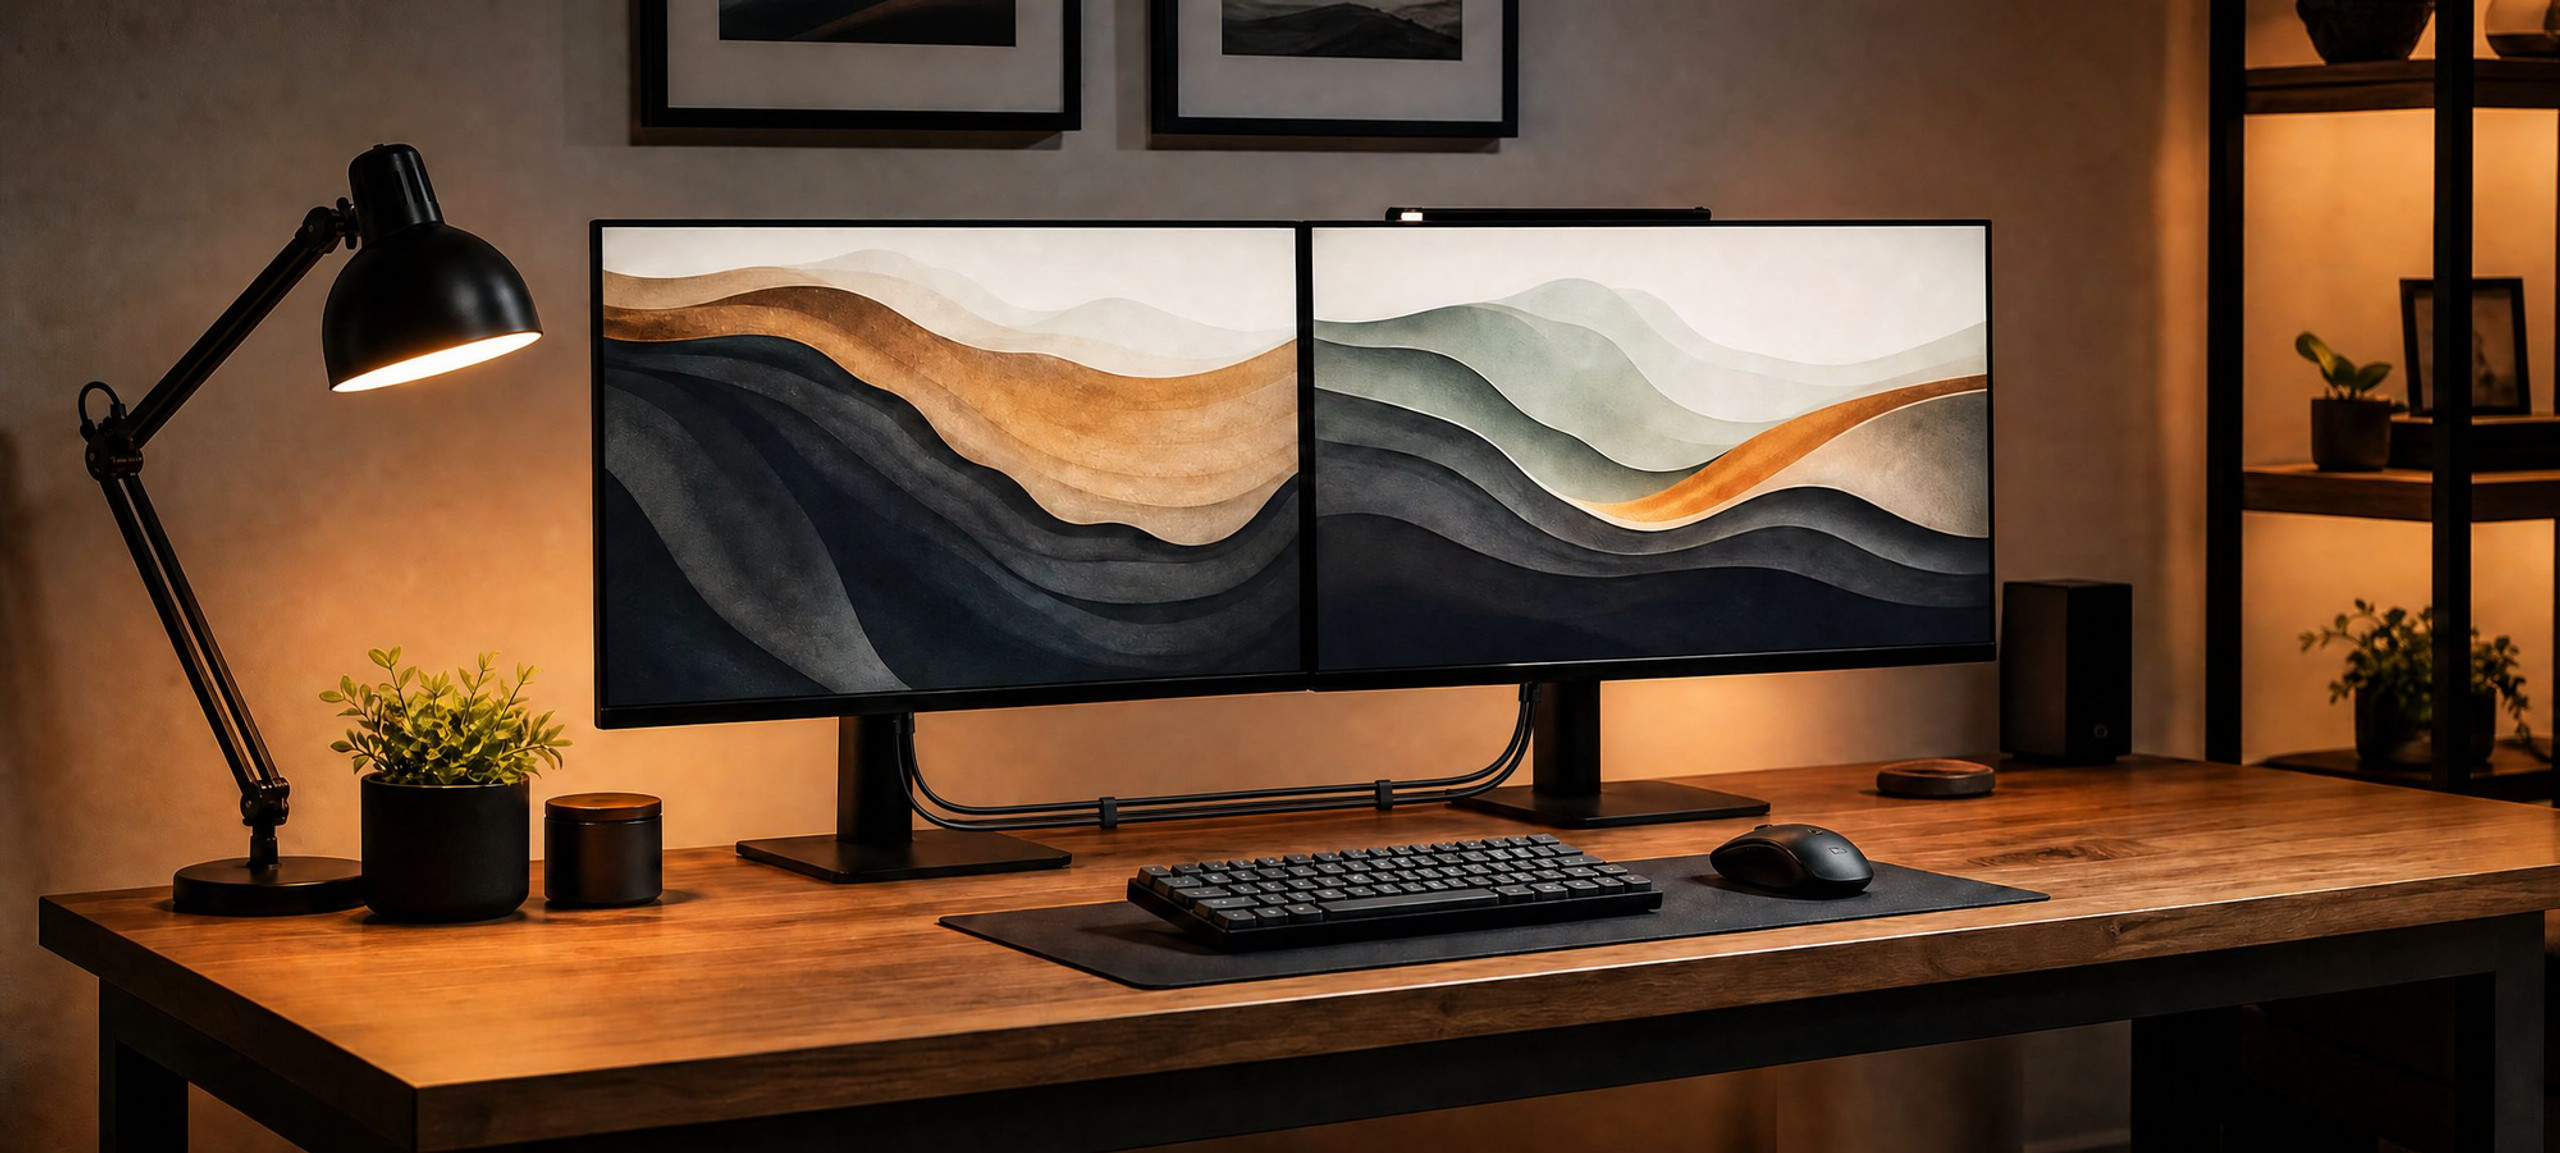
Motorized standing desks are incredible for your posture and productivity. Adding a dual-monitor arm setup turns your workspace into an absolute productivity powerhouse. However, combining two monitors, power bricks, display cables, and a desk frame that moves up and down creates a unique cable management nightmare.
Standard cable management tutorials usually rely on two things: screwing heavy wire trays into the wood or letting cables dangle freely. But if you live in a rented apartment, care about your desk warranty, or simply don't own a power drill, those tutorials are useless.
Here is your definitive, zero-drill guide to achieving a floating, wire-free dual-monitor standing desk setup.
1. The Standing Desk Cable Trap (Why Standard Setup Fails)
Managing cables on a fixed desk is static—you hide the cables once, and they stay put. Standing desks introduce vertical movement, which introduces two fatal mistakes most people make:
The Tension Snap: You tie your cables tightly at sitting height. The moment you raise the desk to standing height, a cord gets yanked out, snapping a DisplayPort connector or damaging your GPU port.
The Snake Nest: You leave every cable dangling loosely to avoid tension. Now, every time you lower the desk, cables get pinched in the motorized legs or drag across the floor like an electrical hazard.
The solution isn't magic—it's establishing a single "Umbilical Cord" (one main power path) and securing everything else directly to the underside of the desk surface.
2. The $30 No-Drill Cable Toolkit
You don't need power tools or expensive modular accessories. You just need the right adhesive-backed gear:
Tool / Item | Purpose | Key Spec to Look For |
Under-Desk Mesh / J-Channel Tray | Holds power bricks & excess cord length | Heavy-duty 3M adhesive backing |
Industrial Mounting Tape | Attaches power strip underneath desk | Gorilla or 3M VHB (rated 15+ lbs) |
Braided Cable Sleeves | Bundles dual monitor cables together | Split-sleeving (easy to insert wires) |
Adhesive Cable Clips & Velcro | Guides wires along metal desk rails | Reusable hook-and-loop straps |
3. Step-by-Step Assembly Guide
Step 1: Mount the Power Strip Under the Desk
Never run individual power cords from each monitor and computer down to the wall outlet. Instead, move the power outlet to the desk. Use heavy-duty 3M VHB mounting tape to stick a 6-to-8 outlet surge protector firmly to the underside or back lip of your desk. Now, only ONE single cable needs to stretch down to your wall socket.
Step 2: Create the "Dual-Monitor Spine"
With two monitors on a mount, you have at least 4 thick cables (2 power, 2 DisplayPort/HDMI) dropping down from your screens. Group these four cables tightly together behind the monitor arm using a braided cable sleeve. This turns four ugly dangling wires into one sleek, unified black column.
💡 The Max-Height Rule (Golden Rule): Before sticking or clipping any monitor cable to the bottom of the desk, raise your standing desk to its maximum height. Route your cables with just enough slack so that screen adjustment or desk elevation never strains your ports.
Step 3: Install Adhesive J-Channels or Mesh Basket
Wipe down the underside of your desk with isopropyl alcohol (essential for proper tape adhesion). Stick your adhesive J-channel race or mesh tray along the back underside. Place all heavy power bricks (for your monitors, laptop dock, or mini PC) inside this tray.
Step 4: The "Single Umbilical" Drop
Now that all monitor cables, PC cables, and desk power adapters are plugged into the mounted power strip, you are left with only one wire reaching the wall: the main surge protector cable. Attach a flexible cable spine or wrap Velcro around this main cable, leaving enough slack for the desk to reach full height without pulling taut.
4. Quick Troubleshooting & Checklist
Is the adhesive peeling off? Make sure you let 3M VHB tape cure for 12–24 hours before adding the weight of heavy power bricks.
Monitor arms wobble? Cable strain can subtly pull on light monitor arms. Ensure 2-3 inches of extra cable slack near the arm joints.
Peripheral wires visible? Route keyboard and mouse cables through the monitor arm track or switch to wireless peripherals for an ultra-clean look.
📌 Save This Guide for Your Setup Build!
Building or upgrading your PC workspace soon? Pin this guide to your PC Setups, Desk Organization, or Tech Inspiration board on Pinterest so you can reference the step-by-step checklist when your gear arrives!


Comments